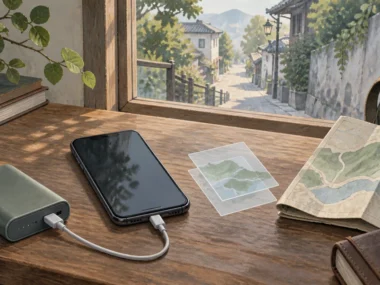







When a route stops making sense mid-journey, the fix isn’t to start over from scratch. It’s five short steps: Record where you’re actually trying to end up, Orient using more than one clue, Use the simplest next leg rather than the most ambitious one, Test it in small steps rather than committing to a long chain, and Exit by closing the loop once you’ve arrived.
Quick answer: To recover a route, record the destination, confirm your last known point with two clues, choose the simplest next leg, and verify each step.
Record the destination and last known point
They combine a destination address with a route mode, confirm the next landmark or stop, and adjust one leg at a time when conditions change.

Record the full destination address and the last place you are certain you reached before building any new route from an uncertain current position.
Before you try to fix a route that’s gone wrong, write down or pull up two things: your full destination address, including the entrance if it’s a larger building, and the last place you’re genuinely certain you reached. Everything else you plan should build from those two fixed points rather than from your current, uncertain position.
Address versus landmark
An address is precise but not always visible from the street. A landmark is visible but not always precise. Use both together: the address for confirming with a map or a person, the landmark for confirming with your own eyes.
Pin the accommodation and meeting point
If you haven’t already saved your accommodation or destination as a pin in a map app, do it now, before you need to rely on typing an address correctly while distracted. This is the same before-you-leave habit that belongs earlier in your trip prep, and the planning sequence in the step-by-step system for planning a solo trip from decision to departure shows where it fits in the wider sequence.
This record, orient, test sequence is the same decision system used for every journey on a trip, not just a route that’s gone wrong. The MOVE Stack system for getting around on a solo trip maps out that fuller system.
Orient with two independent clues
Enter both places in a trusted map, select the appropriate mode, check the start point and endpoint, then verify the first leg before moving.
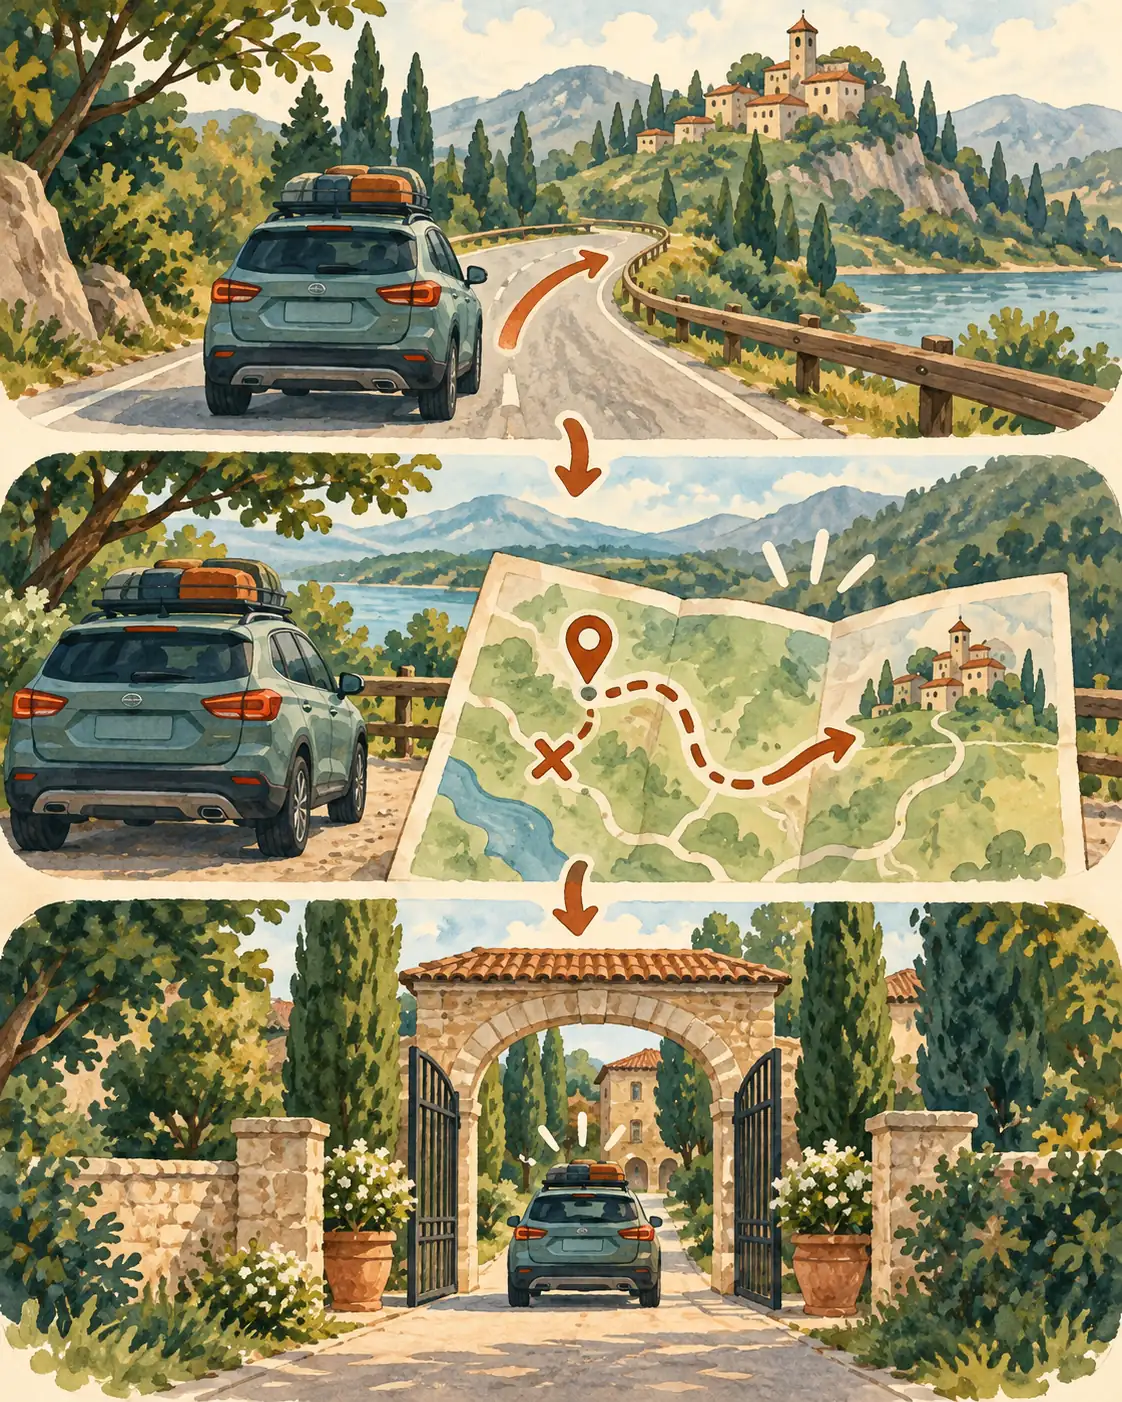
Confirm the position with a second independent clue such as a street sign, station name, visible landmark, compass direction, or saved map location before moving.
Don’t trust a single unclear signal, like a map dot you could read two ways, on its own. Confirm your position with a second, independent clue: a street sign, a station name, a compass direction, or a landmark you can physically see. Two agreeing clues are far more reliable than one you’re only half sure about.
Confirm the map scale
A route that looks short on a zoomed-out map can be much longer than expected once you’re actually walking it. Zoom in before committing to a route based on how far it looks.
Check the correct exit or side of the road
Large stations and multi-exit intersections are common sources of route confusion. Confirm you’re using the correct exit or the correct side of the road relative to your destination before you start walking in a direction.
Choose the next route leg
Enter the destination, choose walking, transit, driving, or another available mode, review the route, and confirm the correct entrance or stop.
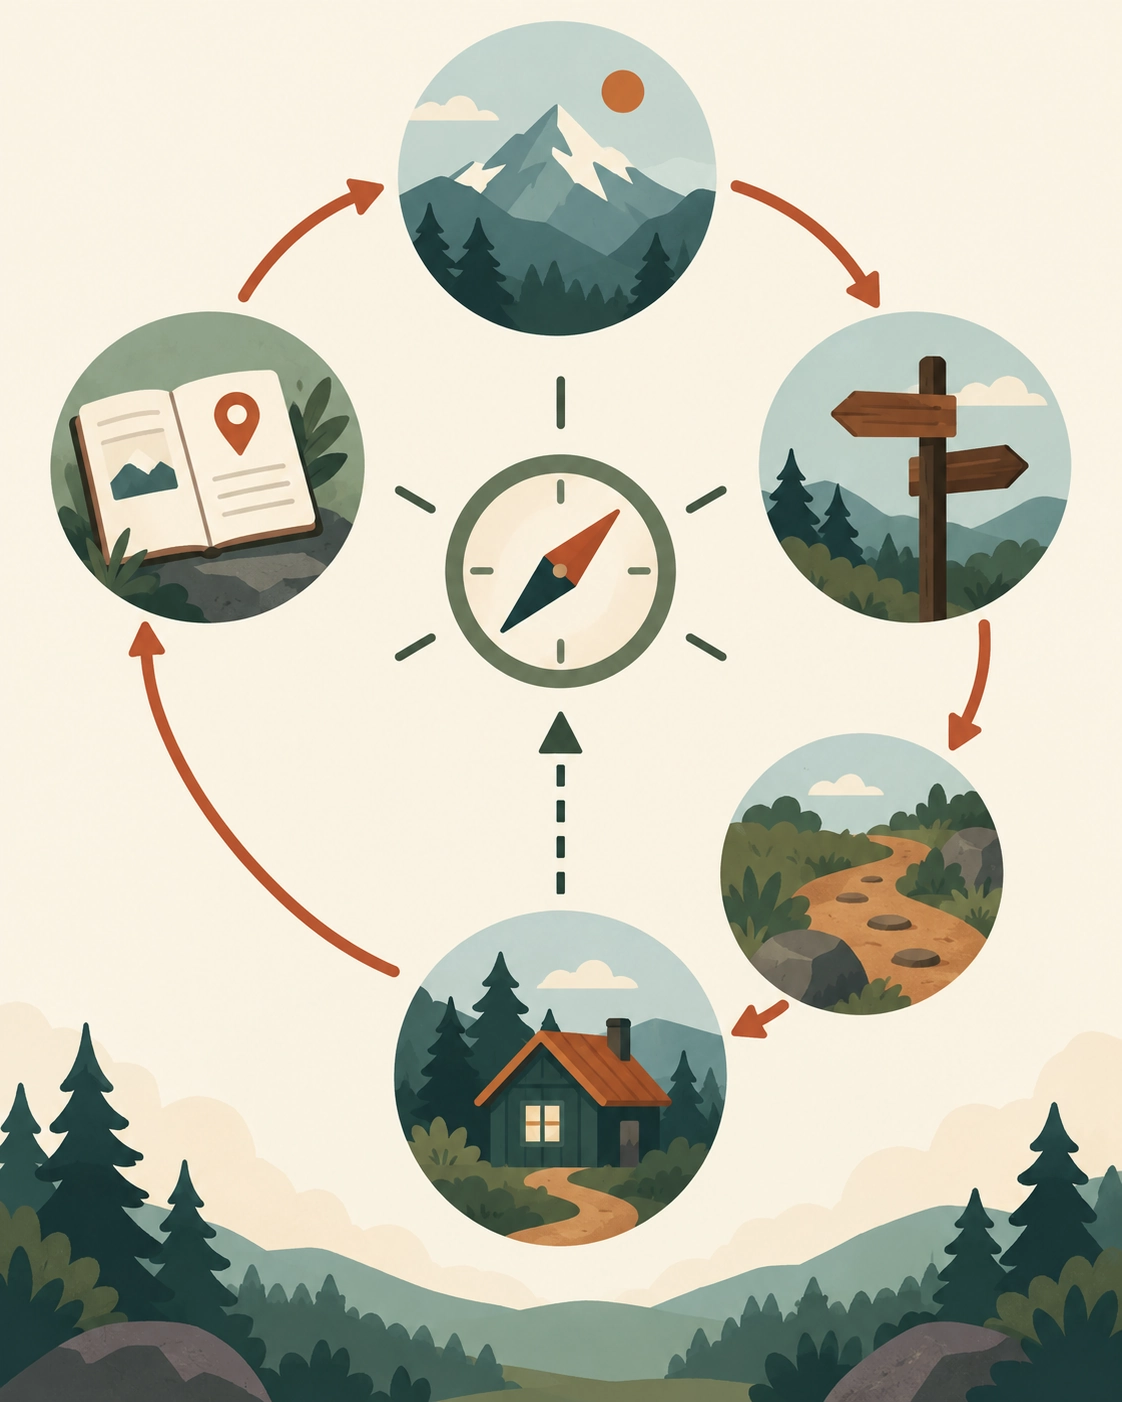
Record the destination and last known point, orient with two clues, use the simplest realistic next leg, test it in small steps, and exit by confirming arrival or returning to a known hub.
With your position and destination both confirmed, compare your realistic options for the next leg: walking, public transit, a taxi, or a rideshare, weighed against the remaining distance, the time you have, how visible and populated the route is, your remaining phone battery, and your own comfort level right now. The simplest reliable option beats a more complex one that saves a few minutes.
Short route versus simple route
A shorter route with an unfamiliar transfer is often a worse choice than a slightly longer route you can follow without any more decisions. When you’re recovering from a wrong turn, simplicity is worth more than speed.
When to return to a known hub
If your recovery attempt isn’t getting you closer to your destination after one or two legs, return to a known hub (a station, a main square, your last confirmed point) rather than continuing to improvise forward.
Test the route in small steps
Save the destination, allow location access as needed, check the route and first landmark, and keep an offline or human fallback if service fails.

Travel to the next landmark, pause to confirm the direction, correct a missed stop or wrong turn early, and confirm the correct entrance before closing the handoff.
Rather than committing to a full route and hoping it holds, navigate to the next landmark, pause, confirm you’re still on track, and only then continue to the next segment. This catches a wrong turn after one block instead of after ten.
Missed stop or wrong turn
If you realize you’ve missed a stop or taken a wrong turn, stop at the next safe point, re-confirm your position using the last-known-point method, and adjust from there rather than continuing forward on the assumption it will resolve itself.
No-data branch
If you lose data mid-recovery, fall back to a downloaded offline map and your written backup address. The full offline fallback stack for a dead phone or no signal spells out this scenario in full.
Setting up an offline map before you lose signal sets out the setup that makes that offline map option available in the first place, if you haven’t built it yet.
Complete the handoff
Confirm you’ve arrived at the correct entrance, message whoever was expecting you, and save the corrected route if the recovery required real effort.
Once you’ve arrived, confirm you’re actually at the correct entrance (not just the correct building or block), message whoever was expecting you, and if the route needed real recovery effort, save the corrected version for next time. Note briefly what went wrong (a mislabeled exit, an outdated saved pin) so you don’t repeat the same failure. The recovery sequence for when a route fails covers the broader recovery sequence if this specific route failure escalated into a more general lost feeling.
The full transport decision matrix for a new city walks through building a more resilient daily movement plan so fewer routes need this kind of recovery in the first place.
Accommodation check-in
If your destination is your accommodation, confirm with the front desk or host that you’ve arrived correctly, especially if the entrance wasn’t obvious from the street.
Preventing a repeat failure
If a specific landmark, pin, or instruction misled you, correct it in your saved notes now, while the detail is fresh, rather than risking the same mistake on a later day.
An outdated saved pin once put me a full block off from where I actually needed to be. I hadn’t corrected it after the place moved, and I paid for that the next time I trusted it.
Examples
Normal case: A traveler’s saved route to a restaurant works exactly as expected, confirmed against one landmark along the way.
Friction case: On a different day, a saved pin for a meeting point turns out to be slightly outdated, and the traveler ends up half a block from where they expected.
Recovery case: They record the address they’re actually trying to reach, orient using the visible street sign at the corner, and walk the short corrected distance rather than continuing to trust the outdated pin, updating the saved location afterward so the same mistake doesn’t happen again.
FAQ
How do people get from place to place?
They combine a destination address with a route mode, confirm the next landmark or stop, and adjust one leg at a time when conditions change.
How do I get directions from place to place?
Enter both places in a trusted map, select the appropriate mode, check the start point and endpoint, then verify the first leg before moving.
How do I go from place to place in Google Maps?
Enter the destination, choose walking, transit, driving, or another available mode, review the route, and confirm the correct entrance or stop.
How do I use my phone to get directions?
Save the destination, allow location access as needed, check the route and first landmark, and keep an offline or human fallback if service fails.
Start Building Travel Readiness
Your Free Prep System.
Not tips, not wanderlust, not “just go for it” advice.
Real systems. Honest experience. One focused email a month. Get 3 Free Tools the moment you join:
1. 60-Day Solo Travel Ready Checklist
Your complete prep timeline from decision to departure
2. First 48 Hours Arrival Survival Card
The exact protocol for landing confident, not lost
3. Booking Confidence Checklist
The tool for the moment the booking button feels impossible to press
No schedule pressure. Unsubscribe any time.
Author Box
Zisco Nueda is the solo travel educator behind Solo Travel Ready, who built the Record, Orient, Use, Test, Exit sequence in this article around a simple observation: most failed routes don’t fail all at once, they drift one small unconfirmed decision at a time, in Zisco’s case an outdated saved pin that was a block off from the actual destination. Map apps, saved pins, and route options change with updates and can go outdated over time, so re-verify a saved route rather than assuming it’s still accurate.
Last updated: September 2026